
Are you ready to take your baking skills to the next level? Look no further! In this article, we will share with you the top baking hacks for success. Whether you’re a novice baker or a seasoned pro, these tips and tricks will help you achieve delicious and picture-perfect results every time. From shortcuts to time-saving techniques, get ready to elevate your baking game with these simple yet effective hacks. Get your apron on and let’s get started!


Table of Contents
Measurement Hacks
Using the spoon and level method
When it comes to baking, accuracy in measuring ingredients is crucial. One common measurement hack is the spoon and level method. To use this method, start by using a spoon to scoop the dry ingredient into the measuring cup. Make sure to fill it to the top without packing it down. Then, take a straight-edged utensil, such as a butter knife, and level off the excess ingredient, ensuring that the measurement is precise. This method helps to prevent using too much or too little of the ingredient, resulting in consistent and successful baked goods.
Converting grams to cups
Sometimes, you may come across a recipe that uses measurements in grams instead of cups. If you don’t have a kitchen scale, don’t fret! You can use a conversion chart or an online converter to easily convert grams to cups. It’s essential to note that different ingredients have different conversion ratios, so make sure to use the appropriate conversion for the specific ingredient you’re working with. By converting grams to cups, you can accurately measure your ingredients and follow the recipe, even if it’s in a different unit of measurement.
Using a kitchen scale
For precise and consistent measurements, investing in a kitchen scale can be a game-changer. A scale allows you to measure ingredients by weight, which is especially useful when it comes to baking. When using a scale, place your bowl or container on the scale and reset it to zero. Then, add the ingredient to the desired weight. This method ensures accuracy and eliminates the guesswork that can come with measuring by volume. Whether you’re working with grams or ounces, a kitchen scale is a handy tool that every baker should consider having in their arsenal.
Measuring sticky ingredients
Measuring sticky ingredients, such as honey or molasses, can be a sticky situation. However, there’s a simple hack to make it easier. Before measuring sticky ingredients, lightly coat your measuring spoon or cup with a non-stick cooking spray or a small amount of oil. This thin layer will help the sticky ingredient slide off easily, leaving no residue behind. This hack not only saves you from a messy cleanup but also ensures that you get the exact amount of the sticky ingredient needed for your recipe, without losing any in the process.
Ingredient Substitution Hacks
Replacing eggs
If you’re following a vegan diet or simply ran out of eggs, there are several egg substitutes you can use in your baking. One popular egg substitute is applesauce. Replace each egg with ¼ cup of unsweetened applesauce to add moisture and binding properties to your baked goods. Another option is using mashed bananas. One ripe mashed banana can replace one egg, adding both moisture and a subtle banana flavor to your recipe. Additionally, you can use a mixture of 1 tablespoon of ground flaxseed or chia seeds mixed with 3 tablespoons of water to replace one egg. These substitutions are not only practical but also open up a world of possibilities for those with dietary restrictions or preferences.
Substituting butter
If you find yourself with no butter in the fridge, don’t let that stop you from baking. There are several alternatives you can use in place of butter. One common option is using vegetable oil as a butter substitute. Make sure to use a 1:1 ratio, meaning if the recipe calls for 1 cup of butter, use 1 cup of vegetable oil. Coconut oil is another substitute that works well in recipes that call for melted butter. The key is to use a butter substitute with a similar fat content to maintain the texture and moisture level of your baked goods. So the next time you realize you’re out of butter, don’t panic, and try one of these simple substitutions.
Using yogurt as a substitute
Yogurt is not only a delicious and healthy snack, but it can also be a versatile ingredient substitution in baking. Greek yogurt, in particular, works well as a substitute for both fats and liquids. When replacing fats, such as butter or oil, use an equal amount of Greek yogurt. This swap not only reduces the calorie and fat content of your recipe but also adds a tangy flavor and moistness to your baked goods. As a substitute for liquids, you can replace ½ cup of milk with ½ cup of Greek yogurt, ensuring your recipe maintains the desired consistency. Experimenting with yogurt substitutions can lead to delightful and healthier baked treats.
Substituting baking soda and vinegar
If you run out of baking soda or want to try something different, you can substitute it with baking powder and vinegar. Baking soda requires an acidic ingredient to activate, usually provided by the recipe you’re following. However, if you want to replace it, you can use baking powder and vinegar. For one teaspoon of baking soda, use three teaspoons (or one tablespoon) of baking powder and one tablespoon of vinegar. This combination will provide the necessary leavening and acid reaction in your recipe. Keep in mind that this substitution may alter the taste slightly, but it can still result in delicious baked goods when used appropriately.

Mixing Hacks
Room temperature ingredients
When a recipe calls for room temperature ingredients, it’s essential to follow that instruction. Room temperature butter, eggs, and other ingredients combine more easily and evenly, resulting in better incorporation and a more uniform batter or dough. To bring your ingredients to room temperature, remove them from the fridge and let them sit at room temperature for about 1-2 hours before starting your baking process. This brief step can make a significant difference in the overall texture and outcome of your baked goods.
Overmixing vs. undermixing
Achieving the perfect consistency and texture in your batter or dough requires finding the balance between overmixing and undermixing. Overmixing can result in tough and dense baked goods, as it develops too much gluten. On the other hand, undermixing can lead to uneven distribution of ingredients and an undesirable texture. To achieve the ideal texture, mix just until the ingredients are combined and no streaks remain. A few lumps are perfectly fine; they will disappear during the baking process. Remember, less is more when it comes to mixing, and a gentle hand will lead to wonderfully tender and fluffy results.
Using the folding method
The folding method is a technique commonly used when working with delicate batters or incorporating lighter ingredients, such as whipped egg whites or whipped cream. Instead of vigorously stirring or mixing, gently fold the ingredients together using a rubber spatula or a whisk. Start by adding a small portion of the lighter ingredient to the heavier batter and gently lift and fold the mixture from the bottom over the top. Repeat this motion until the ingredients are well combined but still retain their airy consistency. Folding ensures that you maintain the delicate structure of the lighter ingredient and results in a light and airy final product.
Preventing dry batter
Dry batter can be a disappointing outcome when baking. To prevent your batter from becoming dry, make sure to measure your dry ingredients accurately and follow the recipe’s instructions. Additionally, you can try adding a little extra moisture to your batter. One simple trick is using a tablespoon or two of sour cream or plain yogurt in your batter. These dairy additives add moisture and a touch of tanginess, resulting in a moist and flavorful end product. Another option is incorporating mashed fruits, such as bananas or applesauce, which not only add moisture but also infuse your baked goods with natural sweetness and flavor. With these hacks in mind, you can ensure that your batter stays moist throughout the baking process.
Oven Hacks
Choosing the right oven temperature
Understanding and choosing the right oven temperature is vital for successful baking. While most recipes provide a specific oven temperature, it’s essential to know your oven’s quirks and calibration to achieve the desired results. It’s common for ovens to have slight temperature discrepancies, so investing in an oven thermometer can be a game-changer. Place the thermometer in the center of your oven and compare the reading to the temperature stated in the recipe. If there are discrepancies, you can adjust accordingly to ensure your oven is set at the correct temperature. This simple hack eliminates the guesswork and helps you achieve consistent and reliable baking results.
Using an oven thermometer
To further ensure accuracy when baking, using an oven thermometer is highly recommended. Ovens can have hot spots and uneven heating, leading to uneven baking. By placing an oven thermometer inside your oven, you can monitor the temperature and make any necessary adjustments during the baking process. If you notice that your oven is running hot or cool compared to the recipe, you can adjust the temperature accordingly to achieve the desired outcome. This small investment can make a big difference in the quality and consistency of your baked goods.
Using the convection setting
Many ovens come with a convection setting, which can be beneficial for baking. Convection baking uses a fan to circulate the hot air evenly around the food, resulting in more even browning and quicker baking times. When using the convection setting, it’s important to reduce the temperature stated in the recipe by about 25 degrees Fahrenheit (or 15 degrees Celsius) and decrease the baking time slightly. This adjustment compensates for the efficiency of the convection setting and ensures that your baked goods come out perfectly cooked and evenly browned. Experiment with the convection setting to find the perfect temperature and time for your favorite recipes.
Preheating the oven properly
Preheating the oven properly is an essential step in baking. It ensures that your baked goods start cooking at the right temperature, allowing them to rise and bake consistently. To preheat your oven properly, turn it on and give it ample time to reach the desired temperature stated in the recipe. Most ovens take around 10-15 minutes to heat up. However, it’s always a good idea to use an oven thermometer to verify that the oven has reached the correct temperature before placing your goods inside. Taking a few extra minutes to preheat your oven properly will set the stage for successful baking and yield delicious results.

Pan Preparation Hacks
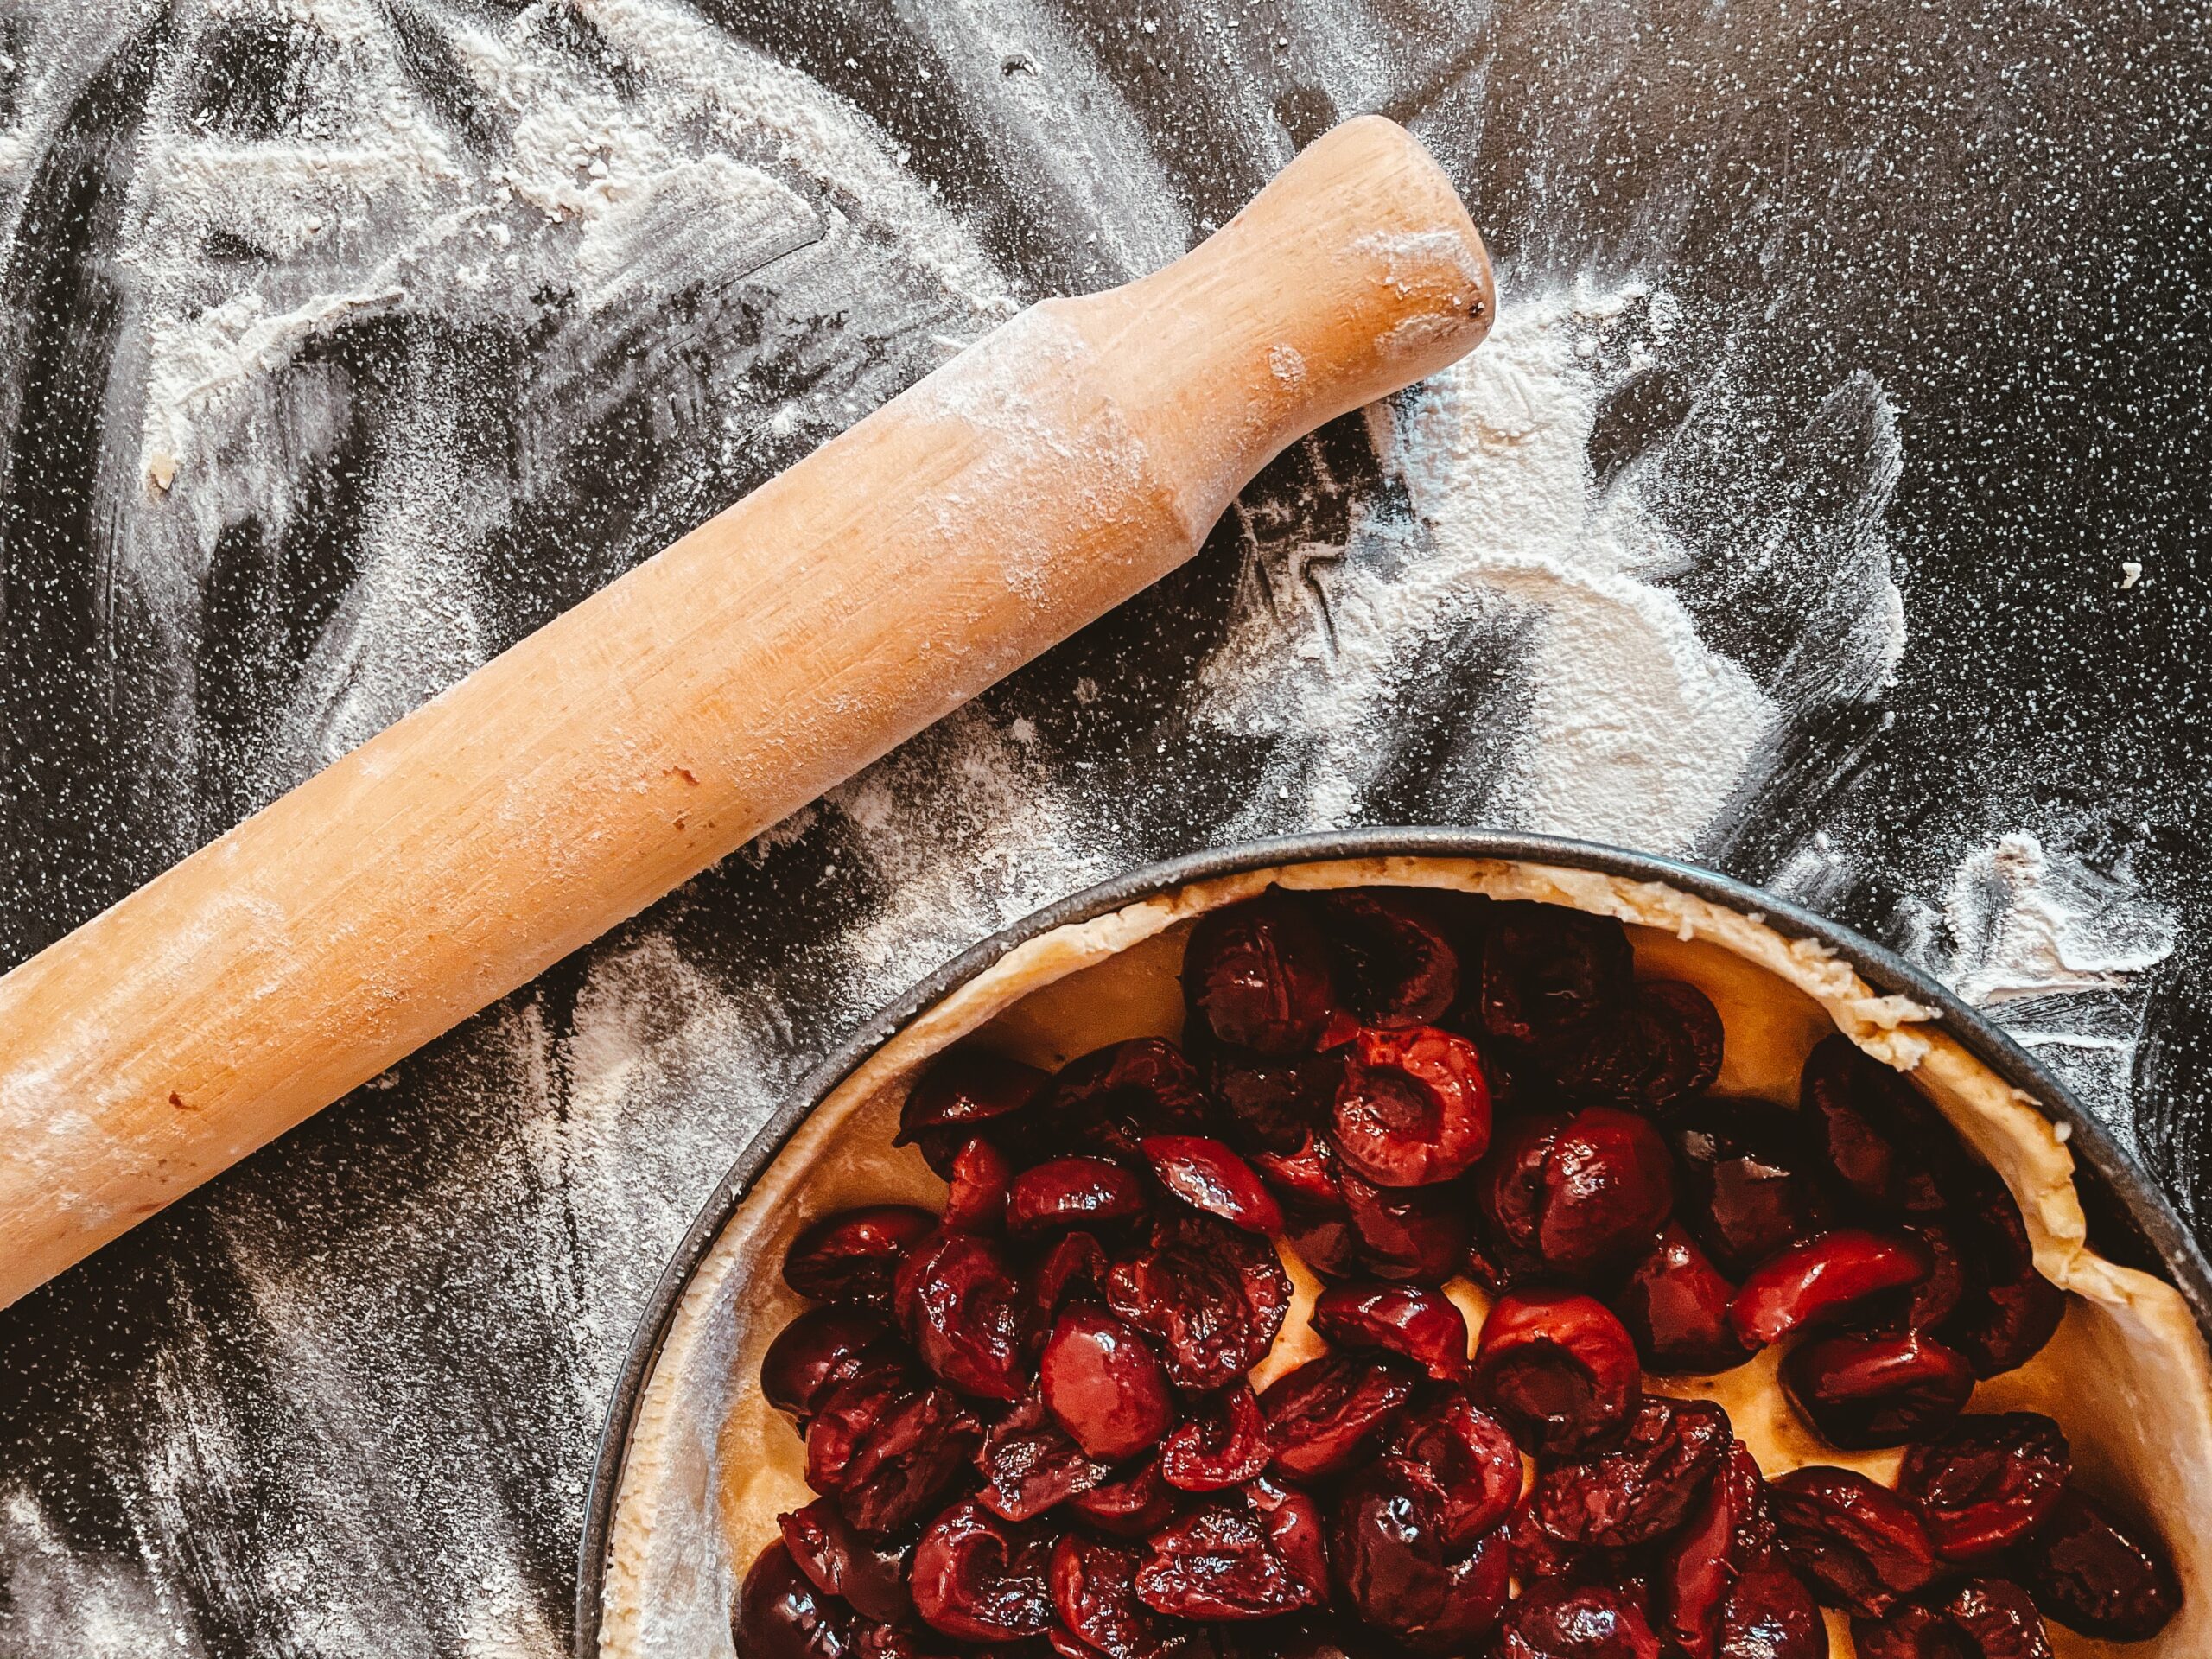
Using parchment paper
Parchment paper is a baker’s best friend when it comes to easy clean-up and smooth release from the pan. Line your baking pans with parchment paper to prevent sticking and ensure that your baked goods come out effortlessly. Simply cut a piece of parchment paper to fit the bottom of your pan and press it down to adhere. The parchment paper acts as a barrier between the batter and the pan, making it easy to remove your baked goods without any fuss. Whether you’re making cookies or cakes, using parchment paper can save you time and effort spent scrubbing pans, making cleanup a breeze.
Greasing and flouring the pan
Greasing and flouring your pan is a classic method to prevent sticking and ensure easy release. Start by greasing the pan with butter or cooking spray, making sure to reach all the corners and sides. Then, sprinkle a light layer of flour over the greased surface, gently tapping the pan to evenly distribute the flour. The flour creates a barrier between the batter and the pan, preventing it from sticking as it bakes. This traditional pan preparation method is particularly useful for heavy and dense batters, such as pound cakes. Embrace this time-tested hack to ensure perfectly-shaped and intact baked goods.
Using a silicone baking mat
Silicone baking mats are a wonderful addition to any baker’s kitchen. These flexible mats provide a non-stick surface without the need for parchment paper or greasing. Simply place the silicone mat on your baking sheet or pan and proceed with your baking as usual. The silicone material ensures even heat distribution, resulting in evenly baked goods. Additionally, these mats are reusable and easy to clean, making them both environmentally friendly and cost-effective. Whether you’re baking cookies or pastries, a silicone baking mat is a fantastic investment that will make your baking process smoother and your baked goods picture-perfect.
Creating a non-stick surface
Creating a non-stick surface is essential for easy removal of your baked goods. In addition to using parchment paper, greasing the pan, or using a silicone baking mat, there are a few other hacks to ensure a non-stick surface. One option is using a cooking spray that contains flour for easy release. The flour-infused spray coats your pan with a slick layer that prevents sticking without the need for flouring. Another alternative is dusting your pan with cocoa powder when baking chocolate-based goodies. The cocoa powder adds flavor while creating a non-stick surface that complements the dessert’s taste. With these hacks, you can confidently bake without worrying about your creations sticking to the pan.
Storage Hacks
Keeping cookies fresh
To keep your cookies fresh and delicious for longer, proper storage is crucial. Once your cookies have cooled completely, transfer them to an airtight container, such as a cookie jar or a resealable plastic bag. For added freshness, you can place a small piece of bread in the container with the cookies. The bread helps to retain moisture, keeping the cookies soft and chewy. However, make sure to remove the bread once it becomes stale to prevent it from affecting the texture of your cookies. By storing your cookies properly, you can enjoy them for days, preserving their delightful flavors.
Freezing dough
Freezing dough can be a time-saving hack that allows you to have freshly baked goods whenever you desire. Whether it’s cookie dough, bread dough, or pie dough, most types of dough freeze well. Start by shaping the dough into individual portions, such as cookie dough balls or flattened disks. Place the portions on a baking sheet lined with parchment paper and freeze them until solid. Once frozen, transfer the dough portions to a freezer-safe bag or container. When you’re ready to bake, simply take out as many portions as you need and bake them as instructed in the recipe. This convenient hack ensures that you always have homemade baked goods at your fingertips.
Storing cakes and cupcakes
Properly storing cakes and cupcakes is crucial to preserve their freshness and prevent them from drying out. Once your cakes or cupcakes have cooled completely, place them in an airtight container or wrap them tightly in plastic wrap. If you have frosted cakes or cupcakes, make sure that the frosting is set before wrapping or placing them in a container. You can also store them in the fridge if they contain perishable ingredients like cream or fruit. However, it’s important to bring them back to room temperature before serving for the best texture and flavor. By following these storage tips, you can savor your baked treats for several days without compromising their quality.
Reviving stale baked goods
We’ve all encountered stale baked goods at some point, but don’t toss them in the trash just yet! There are a few hacks to revive their freshness and enjoy them once again. For stale bread or rolls, sprinkle them with water and heat them in the oven for a few minutes. The moisture from the water and the gentle heat will help rejuvenate the bread, making it soft and delicious once again. As for cookies or pastries, you can place a slice of apple or a piece of bread in the container with the baked goods. The moisture from the apple or bread will infuse into the stale treats, restoring their softness. With these tricks up your sleeve, you can say goodbye to wasting stale baked goods and hello to enjoying every last crumb.

Decorating Hacks
Using a piping bag
For those looking to take their baked goods to the next level, using a piping bag is a game-changing decorating hack. Piping bags allow you to create intricate designs, write messages, and add beautiful details to your desserts. To use a piping bag, fill it with your desired frosting or icing, and choose a decorating tip that suits your design. Gently squeeze the bag to release the frosting in a controlled manner, applying consistent pressure as you pipe. Whether you’re frosting cupcakes, decorating cakes, or adding delicate details to cookies, using a piping bag adds an elegant and professional touch to your creations.
Creating smooth frosting
Smooth frosting is essential for achieving a polished and professional finish on your cakes or cupcakes. To create smooth frosting, start by applying a crumb coat. This initial thin layer of frosting seals in any loose crumbs, preventing them from being visible in the final layer. Allow the crumb coat to set in the fridge for about 15 minutes before applying the final layer of frosting. To achieve a smooth finish, use an offset spatula or a flat icing smoother to spread the frosting evenly. Hold the spatula at a slight angle and apply gentle pressure as you rotate the cake, smoothing out any imperfections. With a little practice, you’ll be able to achieve a flawlessly smooth and professional-looking frosted cake.
Making homemade food coloring
If you’re looking to add a pop of color to your baked goods, making homemade food coloring is a fun and creative hack. Many store-bought food colorings contain artificial additives, so making your own allows you to control the ingredients and experiment with different natural sources of color. For red, you can use beet juice or pureed raspberries. Turmeric or saffron can provide a vibrant yellow hue. Matcha powder or spinach puree adds a lovely green shade. Feel free to explore other fruits, vegetables, or spices to create your desired colors. Remember to start with a small amount and gradually add more until you achieve your desired intensity. Get creative and have fun coloring your baked treats with natural and homemade food coloring.
Adding decorative touches
Adding decorative touches to your baked goods can elevate their appearance and make them stand out. There are countless ways to get creative and show off your artistic side. One option is using edible decorations such as sprinkles, colored sugar, or edible pearls. These little touches can add a touch of sparkle and whimsy to your cakes and cupcakes. Another option is using a stencil to create intricate designs with powdered sugar or cocoa powder. Simply place the stencil on top of your baked good and sift the desired material over it. When you remove the stencil, a beautiful pattern will emerge. Whether you’re working with piping, stencils, or edible decorations, adding decorative touches lets your creativity shine and makes your baked goods visually striking.
Troubleshooting Hacks
Fixing sunken cakes
Dealing with a sunken cake can be disheartening, but fear not! There are a few hacks to fix this common baking issue. Start by ensuring that your ingredients are fresh and measured accurately. Overmixing or opening the oven door too early can also cause cakes to sink. If you find yourself with a sunken cake, you can try the “rescue” method. Remove the cake from the oven and, while it’s still warm, use a sharp knife to cut a thin layer off the top, where the cake has sunk. Fill the sunken area with your favorite frosting or whipped cream to level the surface. This hack not only salvages your cake but also presents an opportunity to add an extra layer of flavor and moisture.
Preventing burnt bottoms
Nobody wants a beautifully baked top and a burnt bottom on their goodies. To prevent burnt bottoms, try double-layering your baking pan. Place one baking sheet inside another before placing it in the oven. This extra layer helps insulate the bottom of your baked goods, preventing direct heat contact and minimizing the risk of burning. Another option is using parchment paper or a silicone baking mat on the bottom of your pan. These non-stick surfaces create a barrier and distribute the heat more evenly, preventing excessive browning or burnt spots. By implementing these hacks, you can ensure evenly baked goods with perfectly golden, not burnt, bottoms.
Rescuing overbaked cookies
Accidentally leaving cookies in the oven for too long can result in dry and crumbly treats. Luckily, there’s a hack to rescue overbaked cookies to bring them back to their delicious state. Place the overbaked cookies in an airtight container with a slice of bread or a piece of apple. Seal the container and let it sit overnight. The moisture from the bread or apple will transfer to the cookies, adding much-needed moisture and softness. Alternatively, you can warm the cookies in the microwave for a few seconds or reheat them in a 350-degree Fahrenheit (175 degrees Celsius) oven for a couple of minutes. Through these methods, you can breathe new life into your overbaked cookies and avoid disappointment.
Avoiding lumpy batters
Lumpy batters can be frustrating, as they can affect the texture and appearance of your baked goods. To avoid lumps in your batter, it’s important to mix your dry ingredients thoroughly before adding them to the wet ingredients. Use a whisk or fork to break up any clumps and ensure even distribution. Another helpful tip is to gradually add the dry ingredients to the wet ingredients, stirring or beating as you go. This gradual incorporation prevents the formation of lumps or pockets of dry ingredients. Finally, if you still spot some lumps in your batter, you can strain it through a fine-mesh sieve to remove them. By following these steps, you can achieve smooth and lump-free batters for flawless baked goods.
Time-saving Hacks
Using pre-made mixes
When you’re short on time but still want to enjoy freshly baked treats, using pre-made mixes can be a lifesaver. Pre-made baking mixes, such as cake or cookie mixes, provide all the dry ingredients pre-measured and mixed together. All you need to do is add the required wet ingredients, such as eggs, oil, or water, and mix according to the package instructions. These convenient mixes save you time and effort in measuring and combining multiple ingredients, while still yielding delicious results. It’s important to read the instructions carefully and follow them to achieve the desired outcome. Pre-made mixes are a handy hack for when you need a quick and easy baking fix.
One-bowl recipes
Streamlining your baking process with one-bowl recipes can be a time-saving hack that also minimizes cleanup. Look for recipes specifically labeled as “one-bowl” or “single-bowl,” as these are designed to minimize the number of dishes used. One-bowl recipes typically involve combining all the ingredients in one bowl and mixing them together. This not only saves time but also eliminates the need for multiple utensils and measuring cups. Additionally, choose recipes that allow for the wet ingredients to be added to the dry ingredients, reducing the number of bowls required. By embracing one-bowl recipes, you can cut down on cooking time and enjoy homemade baked goods with minimal fuss.
Freezing unbaked goods
To truly save time and have fresh-baked goods whenever you desire, freezing unbaked goods can be a game-changing hack. Whether it’s cookie dough, bread dough, or pastries, you can prepare the dough ahead of time and freeze it for later use. Shape the dough as desired and place it on a baking sheet lined with parchment paper. Freeze the individual portions until solid, then transfer them to a freezer-safe bag or container. When you’re ready to bake, simply take out the desired amount of dough and bake as usual, adding a few extra minutes to the baking time if needed. This time-saving hack ensures that you can enjoy freshly baked treats with minimal effort, even on busy days.
Baking multiple items at once
When you’re baking for a crowd or want to maximize your time in the kitchen, baking multiple items at once is a smart time-saving hack. If your oven is large enough to accommodate multiple pans, place them on different racks and rotate them halfway through the baking time. By baking multiple items simultaneously, you save time and energy. However, keep in mind that each item may require slight adjustments in temperature and baking time to ensure even and thorough cooking. Monitor your baked goods closely during the baking process to avoid any overbaking or underbaking mishaps. With this time-saving hack, you can efficiently use your oven space and prepare a variety of delicious treats in one go.
Flavor and Texture Enhancing Hacks
Adding flavored extracts
Flavored extracts are an easy and effective way to enhance the taste of your baked goods. Vanilla extract is the most popular and versatile extract, adding a subtle sweetness and depth to many recipes. However, don’t be afraid to experiment with other extracts such as almond, lemon, or peppermint to create unique and flavorful treats. When using extracts, start with the recommended amount in the recipe and adjust to taste. You can also combine different extracts to create your own custom flavor profiles. Flavored extracts are a simple hack that can elevate your desserts and make them even more delicious.
Using different sugars
The type of sugar you use in your baking can greatly impact the flavor and texture of your finished product. While granulated white sugar is a common choice, there are several other options to consider. Brown sugar, whether light or dark, adds moisture and a subtle caramel flavor to baked goods. It’s particularly delicious in cookies and cakes. Powdered sugar, also known as confectioners’ sugar, is ideal for frostings and glazes, as it dissolves easily and creates a smooth texture. Other alternatives include using natural sweeteners like honey or maple syrup, which can add unique flavors to your treats. Experiment with different sugars to discover your preferred taste and texture combinations.
Incorporating spices and herbs
Spices and herbs can add depth and complexity to your baked goods, transforming them into flavorful masterpieces. Common spices used in baking include cinnamon, nutmeg, ginger, and cloves, which can infuse your treats with warm and aromatic notes. These spices pair particularly well with autumnal flavors such as pumpkin or apple. Fresh herbs like rosemary and thyme can add a unique twist to savory baked goods, creating delicious combinations with cheese or vegetables. Whether you’re making cookies, bread, or savory pies, don’t shy away from experimenting with spices and herbs to create bold and tantalizing flavors.
Experimenting with mix-ins
Adding mix-ins to your baked goods is a fun and creative way to personalize your recipes and surprise your taste buds. Mix-ins can include anything from chocolate chips and nuts to dried fruits and shredded coconut. The possibilities are endless! When adding mix-ins, make sure to distribute them evenly throughout the batter or dough for consistent flavor in every bite. Fold them in gently, taking care not to overmix the batter. You can create classic combinations, such as chocolate chip cookies or walnut brownies, or get adventurous and experiment with bold and unexpected pairings. With mix-ins, you can turn an ordinary recipe into a custom creation that reflects your unique taste preferences.
Baking is an art that requires practice, patience, and a dash of creativity. With these comprehensive baking hacks, you can streamline your process, troubleshoot common issues, enhance flavors, and create beautiful treats to impress your family and friends. Embrace these tips and techniques, and let the joy of baking fill your kitchen with delightful scents and mouthwatering creations. Happy baking!
